You’ve probably heard voice-overs in commercials, movies, shows, and on your phone. They’re there to help you understand what you’re seeing on the screen.
A good voice over is natural and deliberate, yet not robotic. It also has a consistent pacing. It’s a balance that can take some practice to get right.
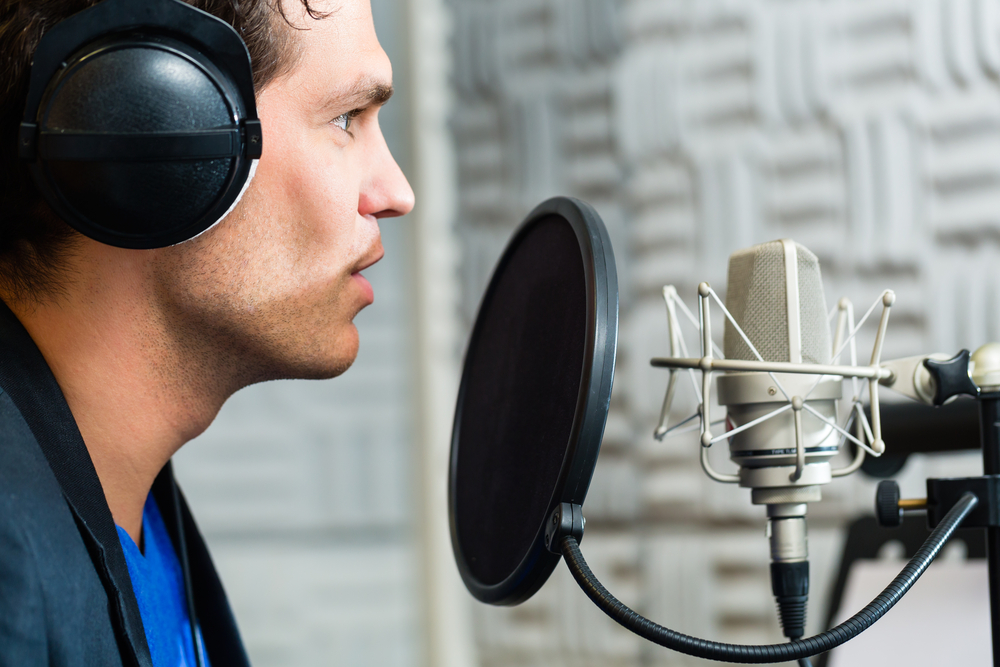
1. Get a good microphone
You’ll need a decent microphone (the built-in mic on your laptop is often not enough) and audio software that allows you to record and edit. You’ll also need a good pair of headphones to listen to your recordings and remove any unnecessary noise.
There are a number of microphones on the market, but you’ll want one that is designed specifically for voiceover. This type of microphone will be less prone to picking up background sounds or other unwanted sounds, and it’s typically a large diaphragm which can accommodate the deep voices of male and female voice actors.
Before you start recording, it’s a good idea to practice out loud. You can choose some of our scripts or even some tongue twisters that will help you stretch and grow your vocal range. You’ll also want to learn how to ‘pitch’ your voice and to make sure that your vocal inflection and pacing is consistent throughout the recording.
Try to audition for seven or more jobs each day if you can, and even if you don’t win any of them, it’s a great way to give yourself a daily vocal workout. It will also help you to get used to delivering short scripts which are often the form of voice over work for commercials or other types of video content.
2. Recording
Voiceover is most effective when it enriches and complements the visuals that it accompanies. That requires planning ahead and preparing your script. Stream of consciousness and off-the-cuff voiceover might work for certain types of videos, but it’s harder to make sound professional without a script.
Once you have your script, it’s important to read it out loud a few times to make sure it flows well and doesn’t contain any awkward phrases. It also helps to rehearse your recording before you record it, to avoid rushing or over-enunciating your words.
It’s crucial to have a quiet space for recording, too. A professional sound studio is ideal, but a room in your house or apartment can work just as well with the right preparation. Make sure that you speak at a measured pace and avoid fillers like “um” and “like.” It’s also essential to ensure that your audio is clear enough to be understood, which can often be achieved by using better microphone equipment and by having your audio recorded in a sound-proofed room.
Many voice actors also find satisfaction in networking with fellow voiceover artists. Whether it’s sharing business, technical or artistic advice, or simply meeting new colleagues and clients, this aspect of the industry can help you grow as an actor. It’s also a great way to keep your ear to the ground for opportunities that you might not have otherwise noticed.
3. Editing
Get started doing VoiceOver can be used in a variety of ways to enhance videos, but they should always focus on audio clarity and quality. If your voice isn’t clear enough, your viewers will have trouble understanding the content and may get distracted or switch off the video.
A mumbling or stuttering voice will also be distracting and confuse viewers. To avoid these problems, it’s important to write a script and practice. Also, make sure to leave some extra silence at the beginning and end of your recording so you can trim it later on.
It’s also essential to listen to your voiceover after it’s been recorded and check if it sounds natural or not. If your voice doesn’t match the pacing and tone of the video, you’ll need to re-record until it does.
If you don’t feel comfortable editing your own voice, you can hire a professional voice-over artist to do it for you. This will ensure that your voiceover is of the highest quality and that it’s perfectly aligned with the visuals in your video.
Adding a voice over to your video is easy if you use the right tools. With affordable microphones and all-in-one video making apps like Biteable, it’s easier than ever to produce high-quality voiceovers. So, why not give it a try? It could help you take your videos to the next level.
4. Uploading
If you’ve ever listened to a podcast or watched a YouTube video, chances are you’ve heard disembodied voices that we refer to as voice-over. This form of narration is a common feature in movies, TV shows, commercials and even our phones when we’re put on hold. It’s often thought that voice-overs can help add clarity and exposition, but they can also take a video to a whole new level of entertainment.
To do a good voice-over you need to plan out your script. This will reduce the amount of filler words such as “um” and “uh”, and it will help you hit your tone and pace more consistently. You can then practice your recording in a quiet room with good audio equipment until you get the perfect take. Once you have your file, you can upload it to your video editor of choice.
It’s a good idea to watch the video while you record so that you can line up your audio with the scene. This will save you time in the editing process and ensure that everything sounds natural. It’s also a great way to get a feel for what your final result will look like.
There’s no shortage of video editing software on the market, but it can be difficult to find one that’s easy to use and has all of the features you need. Fortunately, TechSmith has created a tool called Audiate that makes recording and editing voice overs as simple as editing text in a document. Plus, it’s free to try!